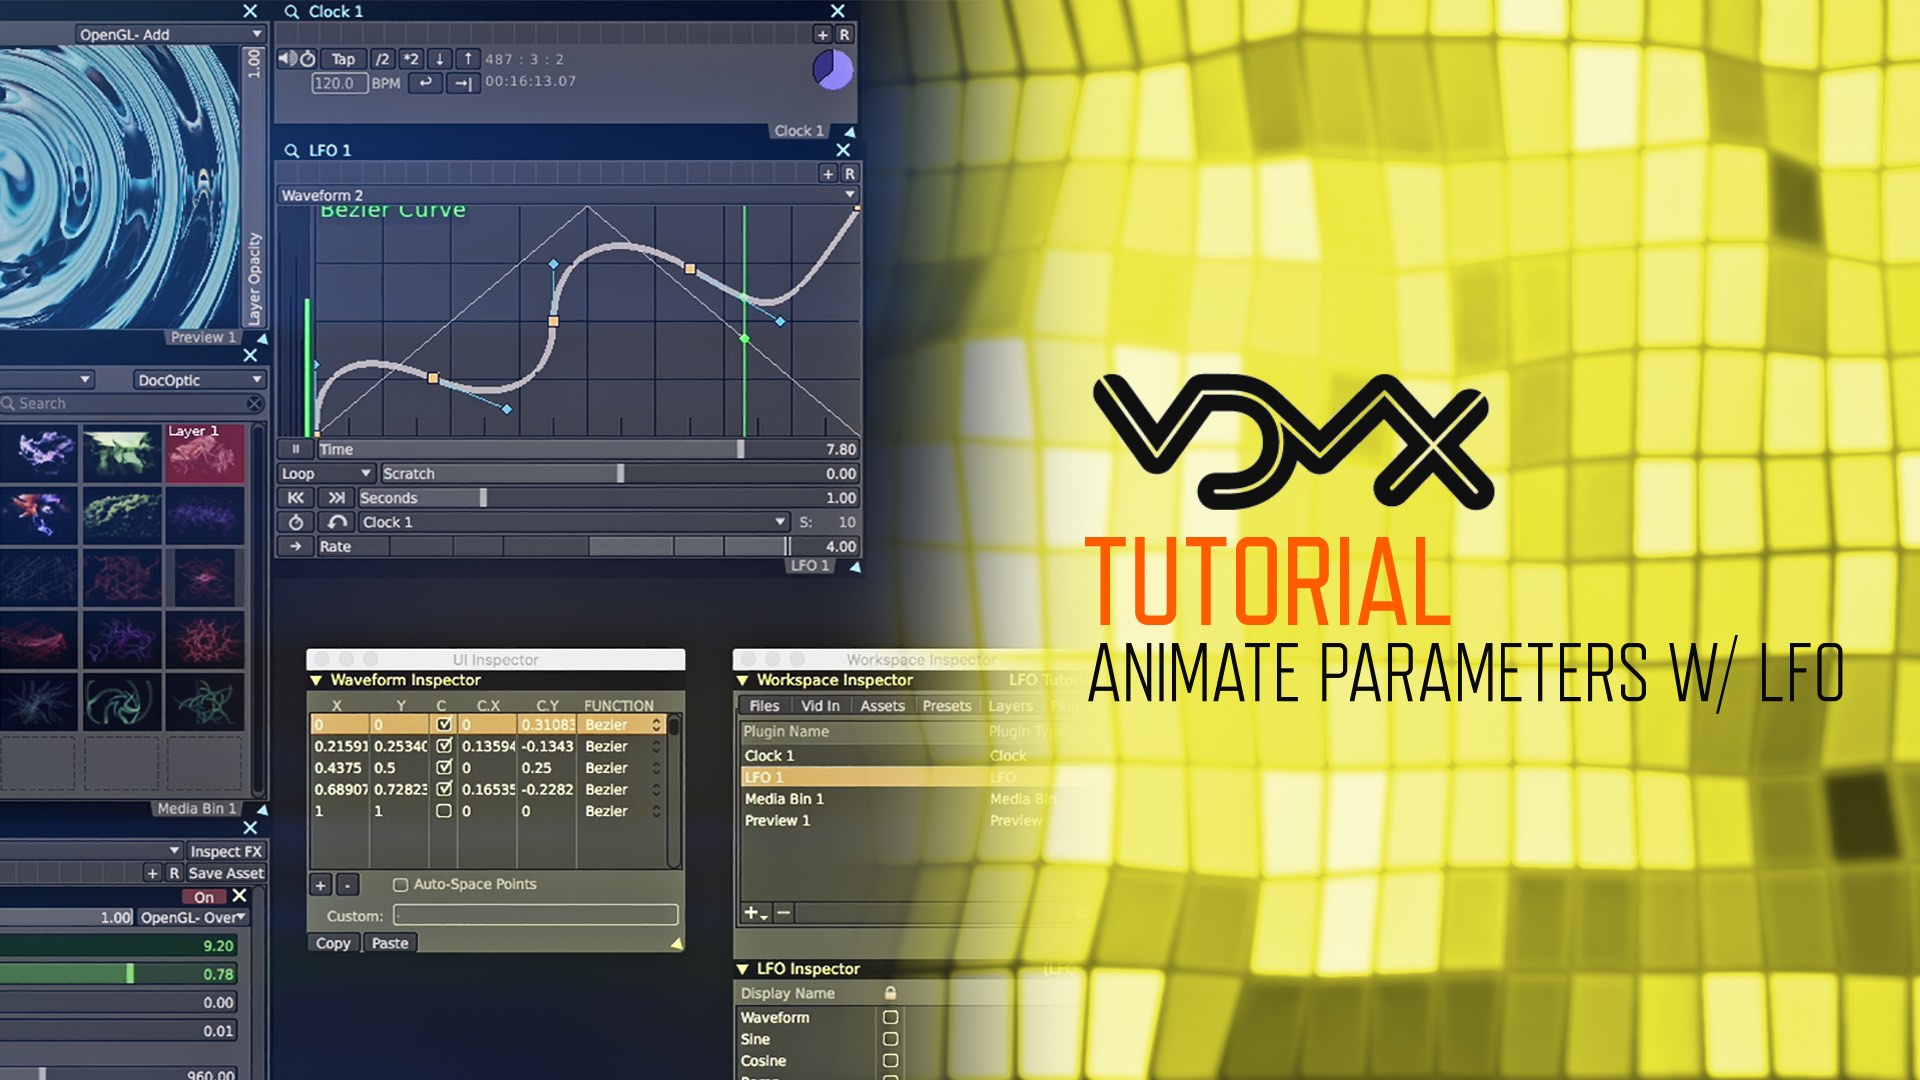
We’re excited to bring you a new VDMX tutorial that explains how the LFO plugin works and how you can use it to animate and automate any parameter you choose.
VDMX Tutorial: Animate Parameters with LFO
This VDMX tutorial goes in-depth with the LFO plugin and how you can use it to animate any parameter. We explain what an LFO waveform or curve is in regards to animation, how the LFO interface works, what standard curves are available to use, ways to customize your own curves, and how to automate parameters with LFO waveforms.
We show the results of assigning different waveforms as data sources to effect parameters and provide suggestions such as which curves may work best with certain parameters. There are three practical examples we go over: looping a zooming logo with the Cosine waveform, creating an infinite looping Kaleidoscope effect with the Ramp curve, and using the Random waveform as a data source for glitch-based effects.
Resgen 2 Generative Visuals Now Available
Resgen 2 is now available! This is a set of all 60 all new generative, realtime clips for Resolume Arena and Avenue. Fully customizable with easy to use controls perfect for live performance or creating entirely new clips. Thank you for your support and we hope you have fun with it!
New Free VJ Loop “Blink Blocks”
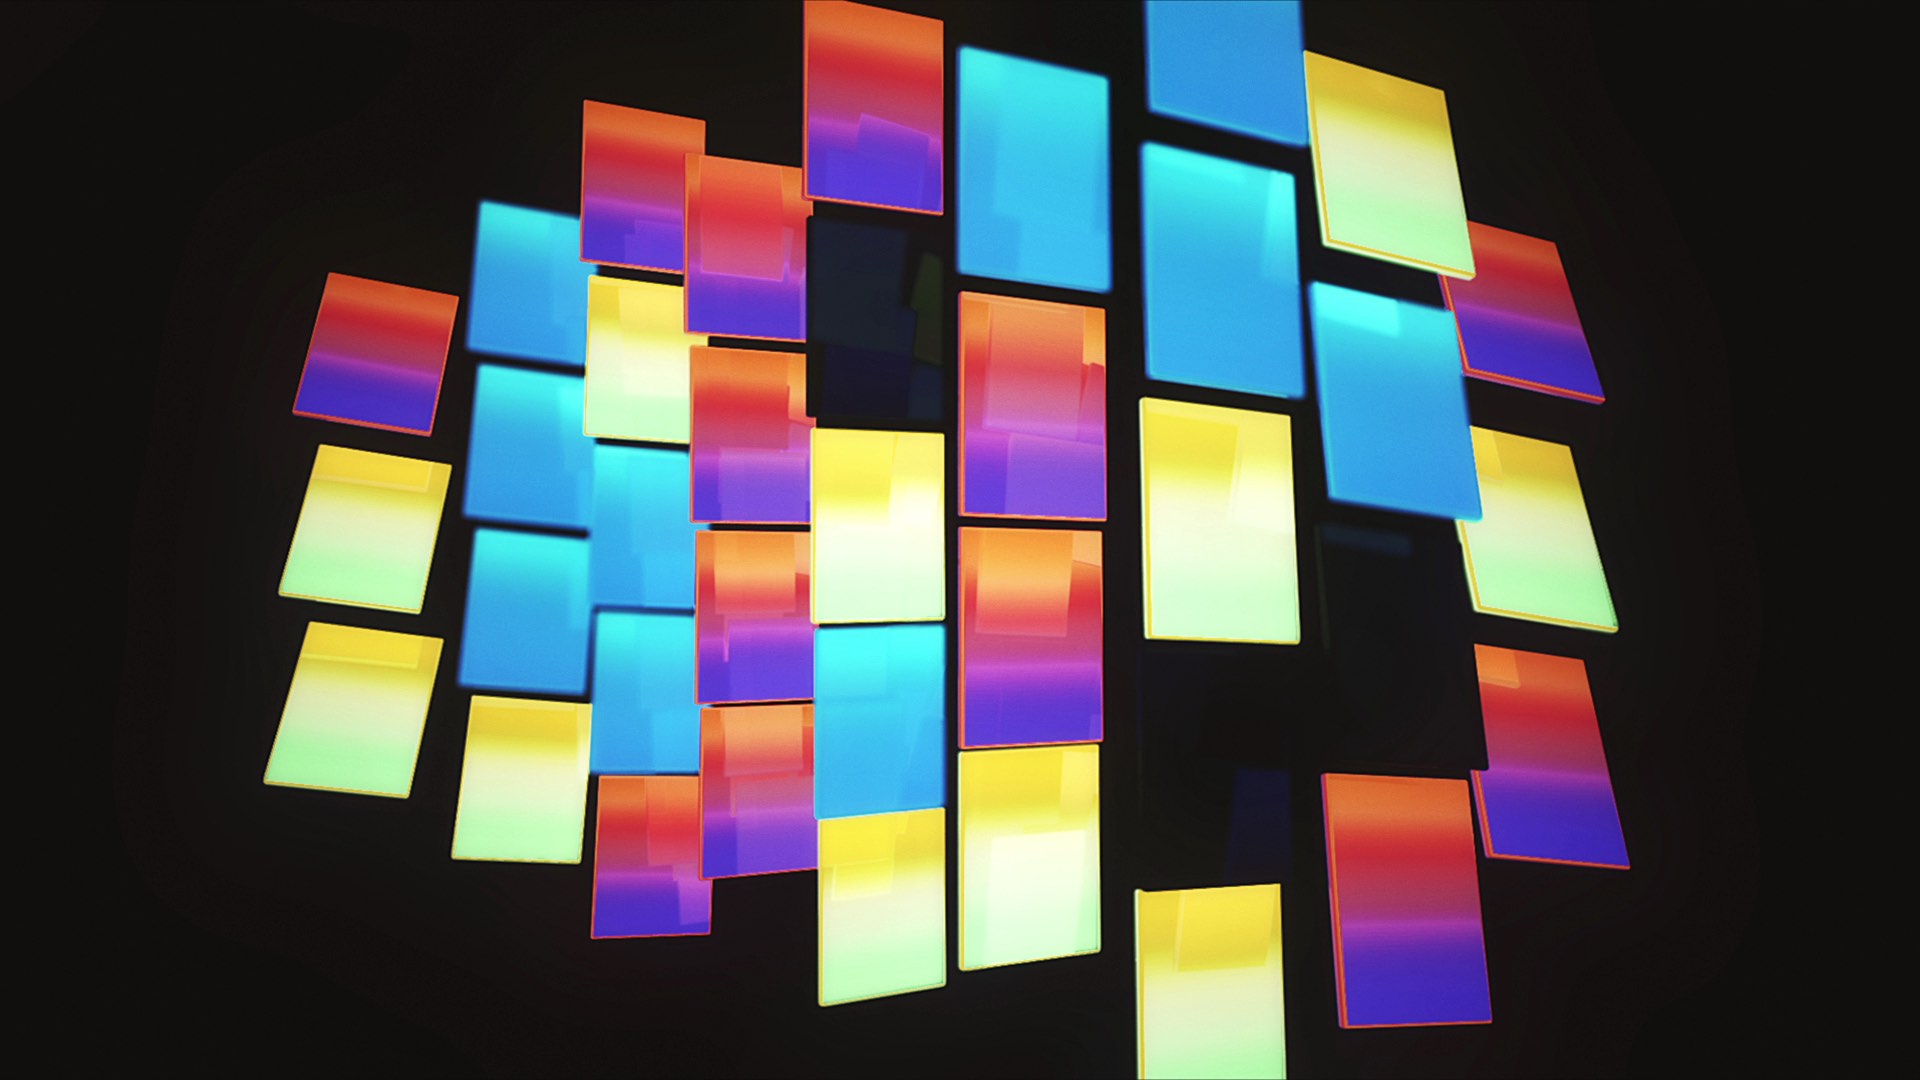
Blink Blocks is a seamless free VJ loop made up of shiny 3D blocks with various blinking gradient textures. Grab it today and sign-up to our e-mail list/newsletter if you want to get notified about new releases and free VJ loops.
Live Visuals Session // 101516
The live visuals in this session consist of generative clips from our Resgen series for Resolume. Clips were triggered on the fly and included some audio reactive versions. Behind the scenes, some adjustments were made using the built-in Dashboard controls to alter the clip prior to displaying in the Output Monitor. Most clips had minimal blending and alpha channels were used to separate the layers. The glitchy polygon visual was tweaked live, adjustments to the size and rotation were made with the music.
→ Watch Resgen Generative Visuals Overview
Visuals used in this session:
• DOCG01 Resgen
• DOCG02 Resgen 2
VDMX Build 8.6.0.6 Updated with New Features
The team at VIDVOX have released build 8.6.0.6 of VDMX which includes some new features and updates to their HAP playback.
What’s new:
– New “Timecode” plugin: This plugin receives, generates, and sends SMPTE timecode over a variety of formats
– New “Cue List” plugin: Use this plugin to set up pre-planned clip triggers
– New “Data Looper” plugin: This plugin lets you record values from data sources into tracks
– HAP Codec improvments: HapQ+A adds an alpha channel to HapQ, performance improvements
Resolume Arena 5.1 and Avenue 4.6 Update Released
Our friends at Resolume have released a feature rich update for Resolume Arena 5.1 and Avenue 4.6. The update adds some new tools to help with projection mapping, especially for LED setups along with performance enhancements and a bunch of bug fixes. Below are the new features. For the entire changelog please visit Resolume’s blog post regarding the update.
What’s new:
– ArtPoll and Art-Net Unicast
– Much lower memory usage when using still images and non-DXV movies
– Load images as guides for in Input and Output mapping
– Export slices to .svg
– Clip Menu Item: Strip Audio
– Type 4 space separated numerical values to enter a slice top, left, width and height coordinates
– RGBA fixture colorspace
– Maintain fixture scale and proportion when switching fixtures
– Duplicate lumiverse
– Button to toggle snapping
– Multiselect and drag slices between and within screens
– Roll over rotation range for slices
– Mouse hover popup in DMX Output window that shows the channel value as a number
– When deleting a column with an active clip, make the first clip in the column before it the active one
– When moving a Slice mask completely outside of a slice, paint the slice outline red
– When creating new fixture automatically start giving it a name
Live Visuals Session // 090516
These live visuals were composed using a mix of hand-triggered effects and BPM synchronization. The top layer of thin cubes had the blur effects and random video playback set to BPM. The pixelized lines on the second layer had its color effects set to BPM and both the geometric explosion and directional flipping was done manually by bypassing the effect through improvisation with the music. Lastly, another geometric layer was placed in the background using some noise effects for extra texture.
→ Watch Resolume Tutorial on BPM Sync & Techniques
Visuals used in this session:
• DOC014 Kahelix (Tracearrays)
• DOC014 Obtusion (Tracearrays)
• DOC000 Blink Blocks (Free VJ Content)
New CoGe Tutorial: Mask Layering Techniques
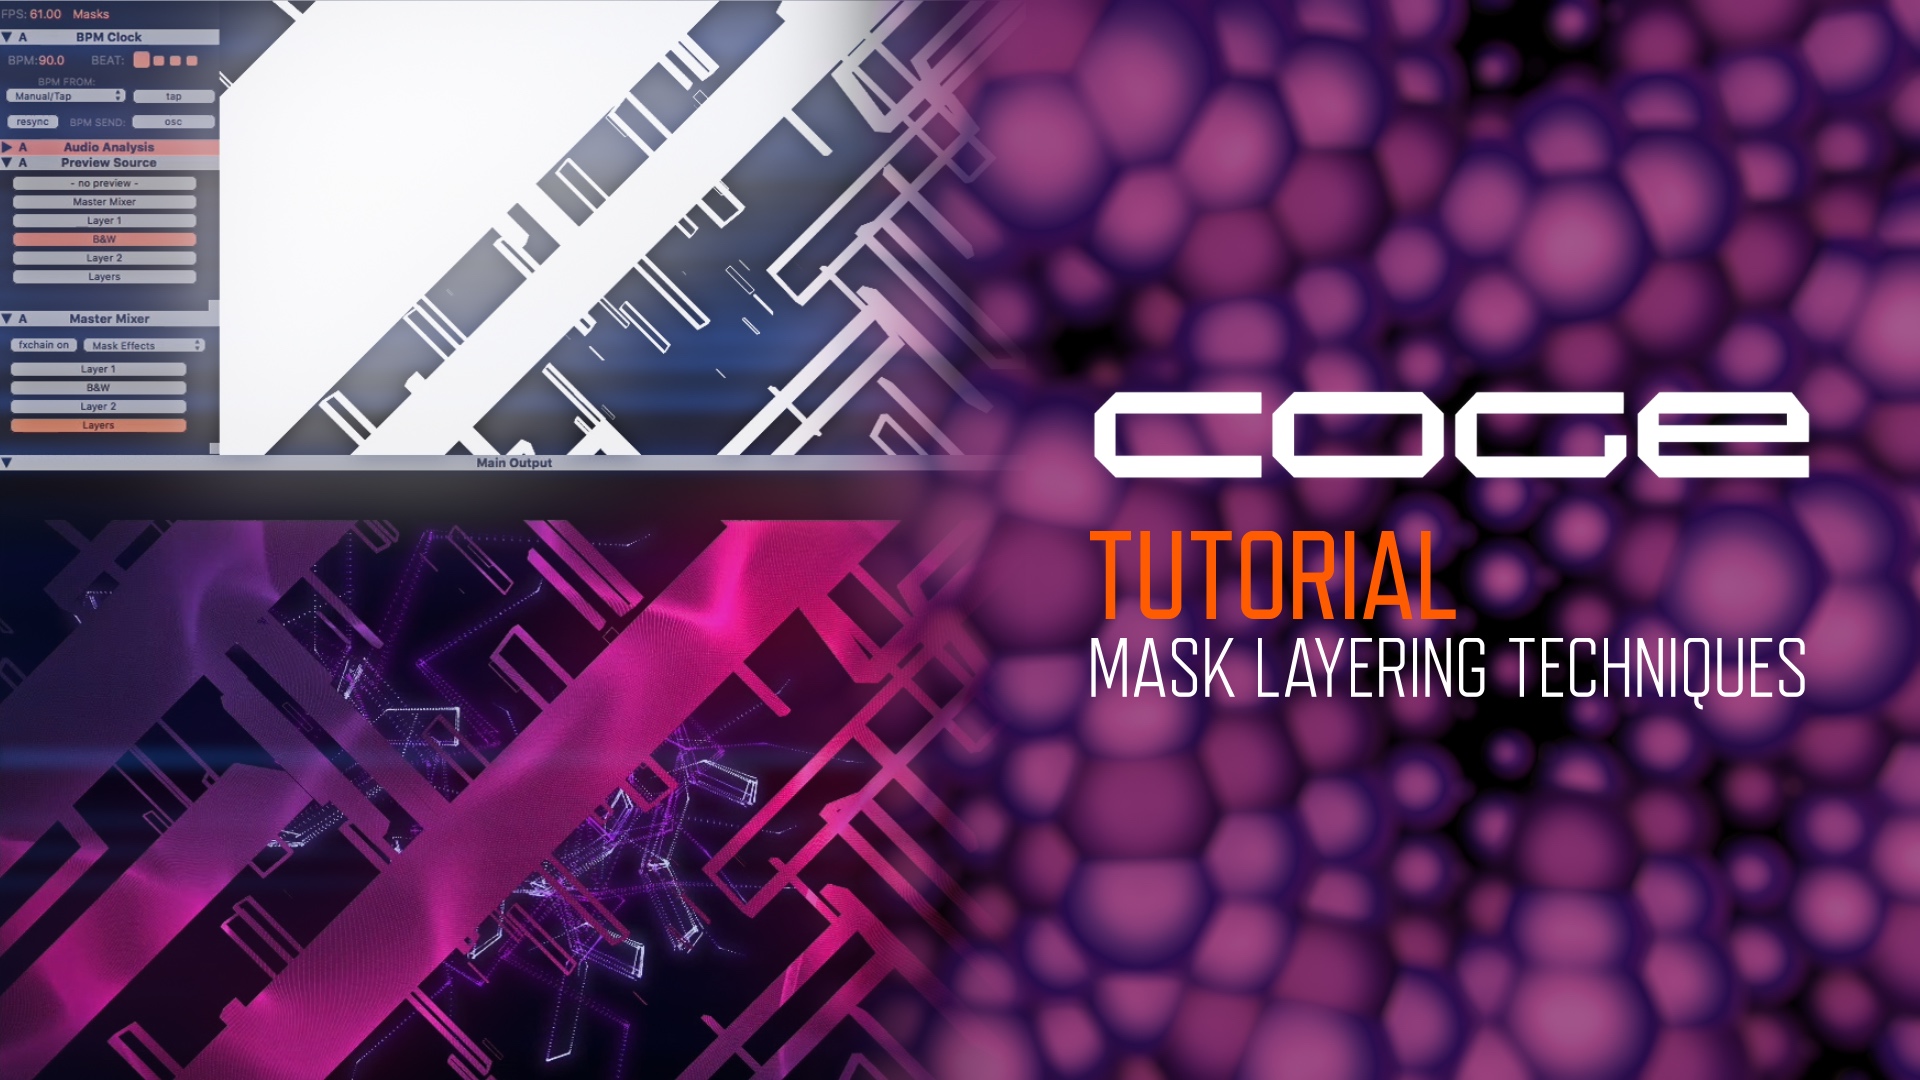
We just posted a new CoGe tutorial that explains techniques to take your layering game to another level using masks!
CoGe Tutorial: Mask Layering Techniques
This CoGe tutorial (version 1.7+) demonstrates 3 different techniques to layer your visuals with masks or mattes. By using black and white content, we can display content through the white areas of footage with these various masking methods. The first technique involves using the Multiply blend mode to mask all layers below a black and white mask layer. The second demonstration explains how to use the “Mask with Layer” effect to select specific layers we wish to mask. The last technique shows how to create a mask overlay using an alpha channel that reveals the bottom layers only in the transparent areas while keeping masked content on top. We show how this techniques can be applied to a plain white logo to make it more visually interesting.
